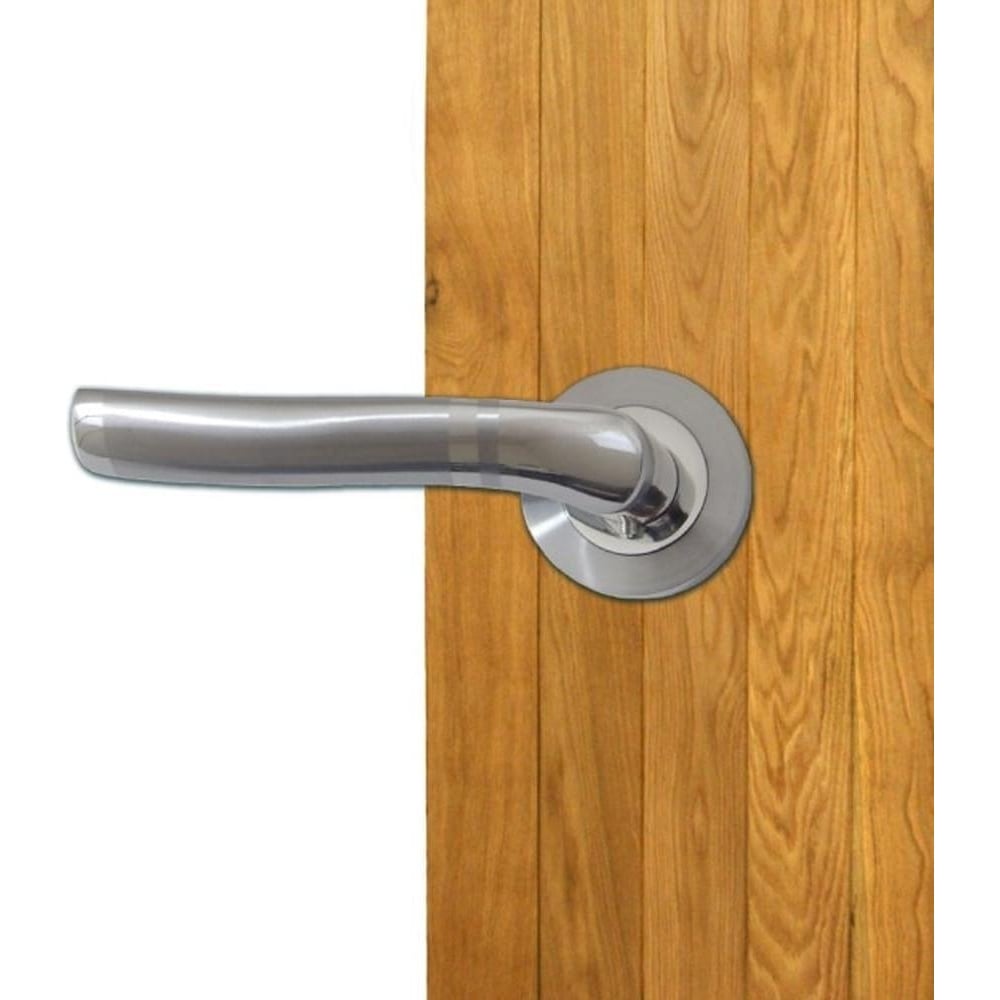
Installing interior door handles on hollow core doors is a straightforward and cost-effective DIY home improvement project. Whether you’re upgrading old hardware or fitting handles to a newly installed door, choosing the right interior door handles and installing them correctly can significantly improve both functionality and visual appeal.
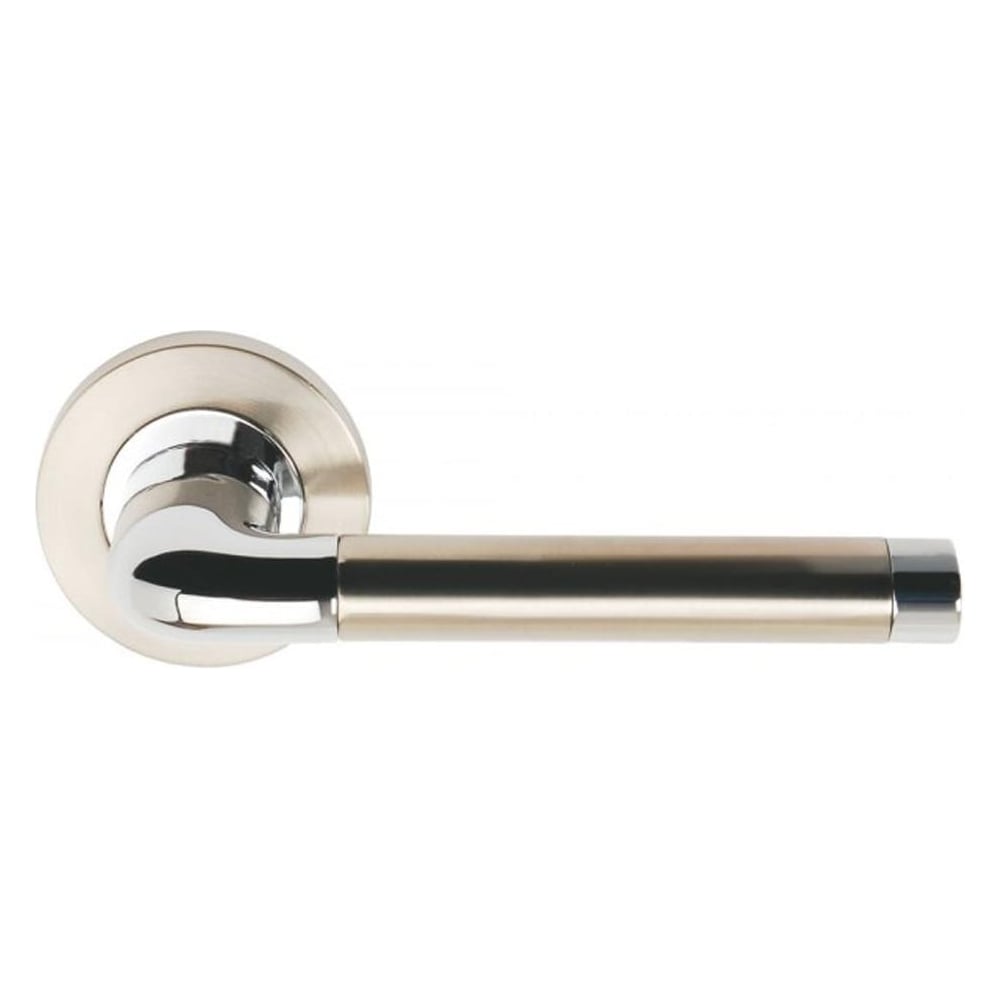
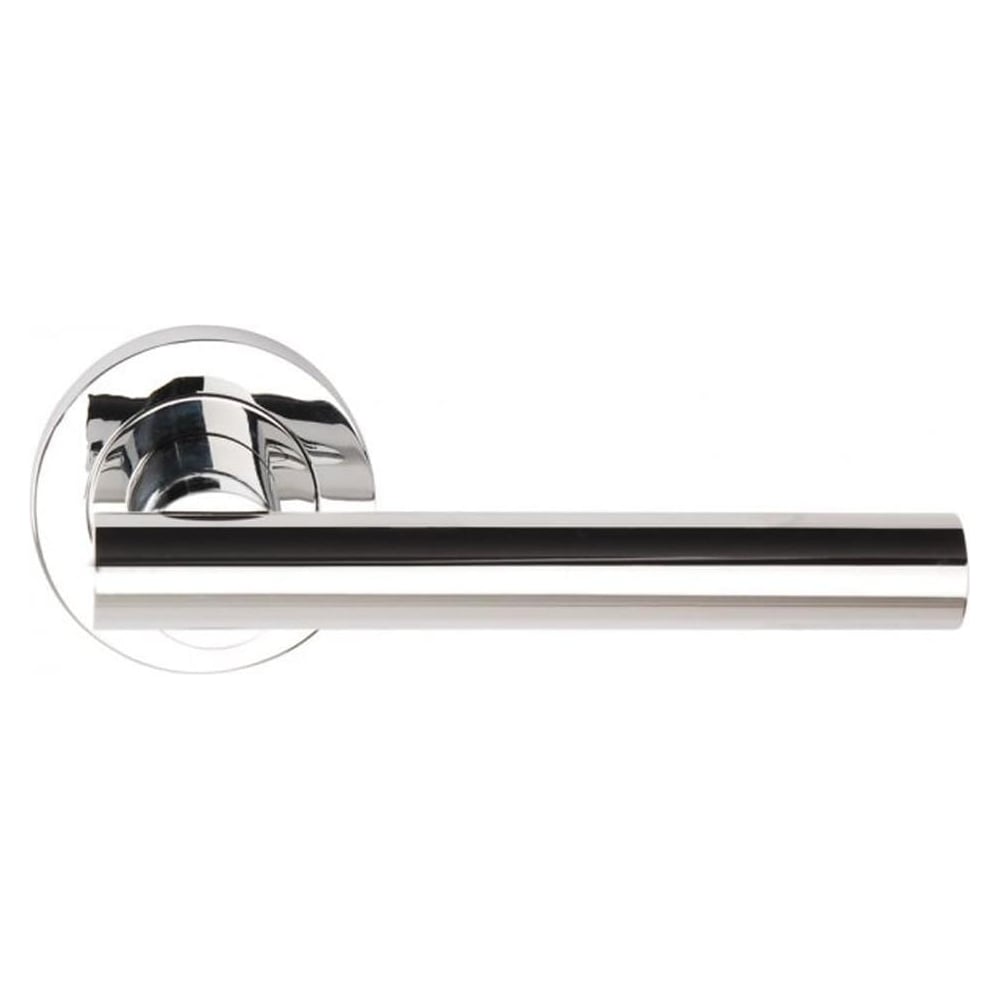
Homeowners looking for a wide range of styles and finishes can explore the Interior Door Handles Collection by Home Secure, which offers options suitable for every room and décor style.
Why Hollow Core Doors Require Special Care
Hollow core doors are lightweight and commonly used in bedrooms, bathrooms, and closets. Unlike solid wood doors, they feature a thin outer skin with a hollow internal structure, which means careful measuring and drilling are essential to prevent damage during installation.
Hollow core doors are designed to be economical and easy to install, typically using a honeycomb or cardboard core between two thin panels. This construction keeps doors light while still providing enough strength for everyday interior use. Understanding basic door construction and terminology can be helpful before installing hardware, especially when working with hollow core designs. A helpful educational overview is provided in Learn About Door Types and Construction on Wikipedia, which explains common door materials and structural differences.
Selecting appropriate hardware is just as important as correct installation. Homeowners unsure about finishes or handle styles may find useful guidance in How to Choose Interior Door Handles That Match Your Home Style, which explains how to pair door hardware with interior décor.

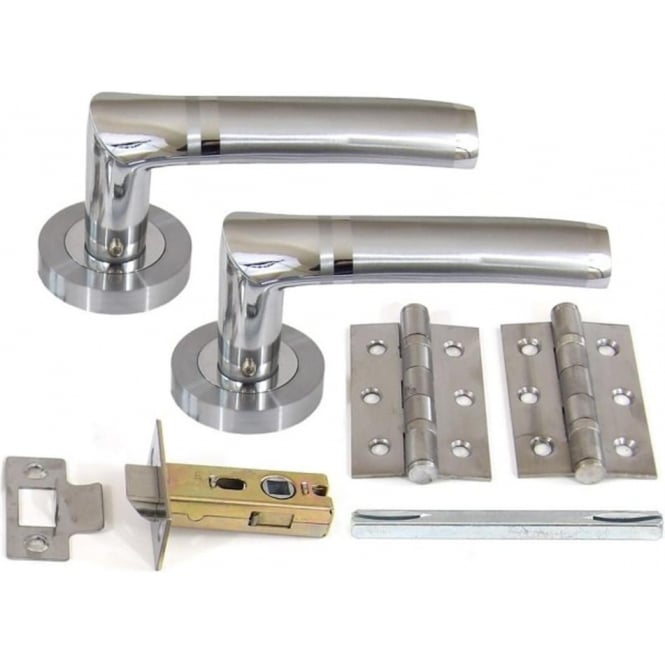
Tools and Materials Needed to Install Interior Door Handles
Before starting, gather the following tools and materials:
-
Interior door handle set (knob or lever)
-
Tape measure
-
Pencil
-
Power drill
-
2 1/8" hole saw
-
1" spade bit
-
Screwdriver
-
Chisel (optional)
-
Installation template (if included)
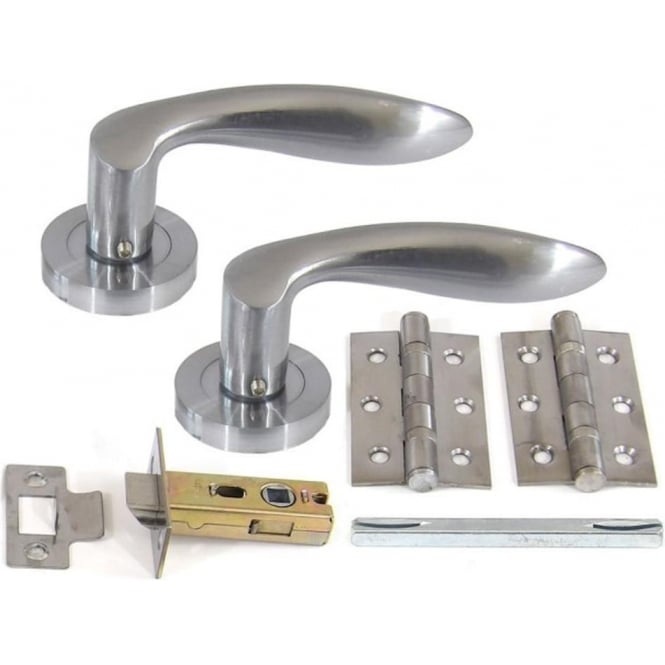
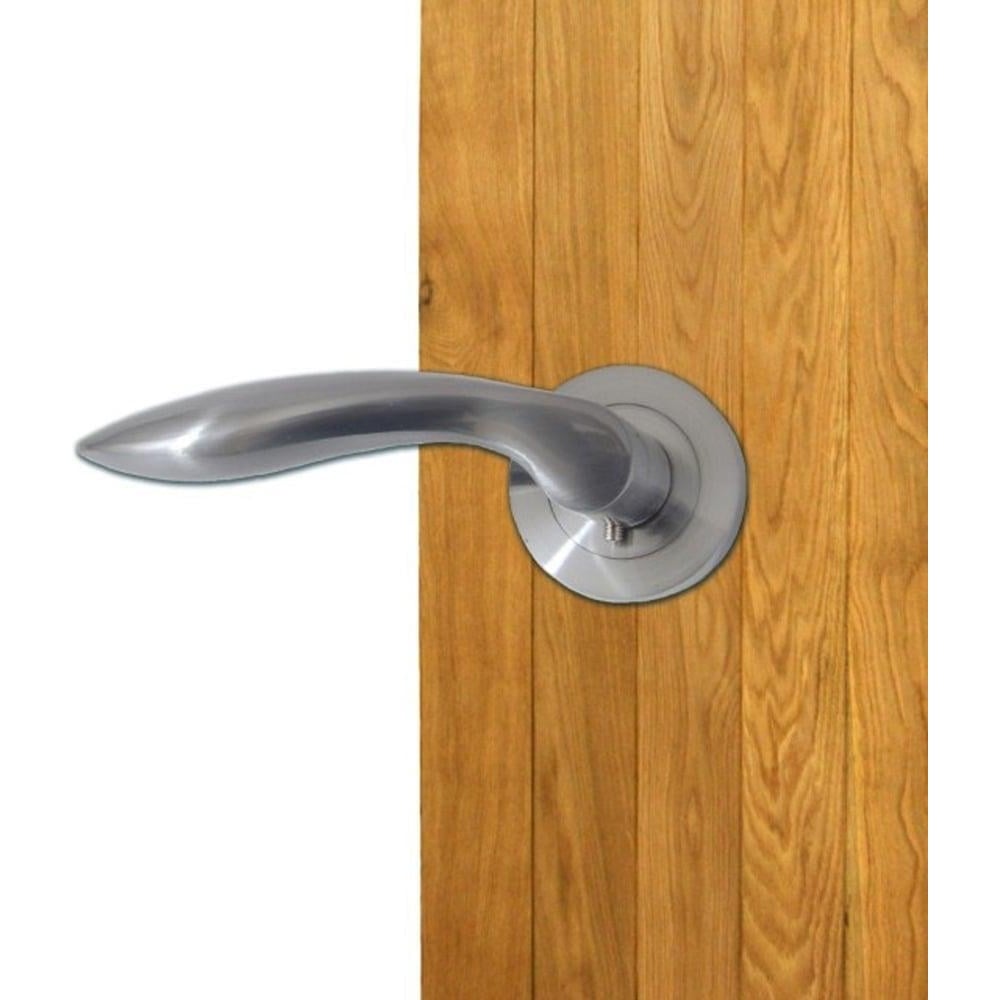
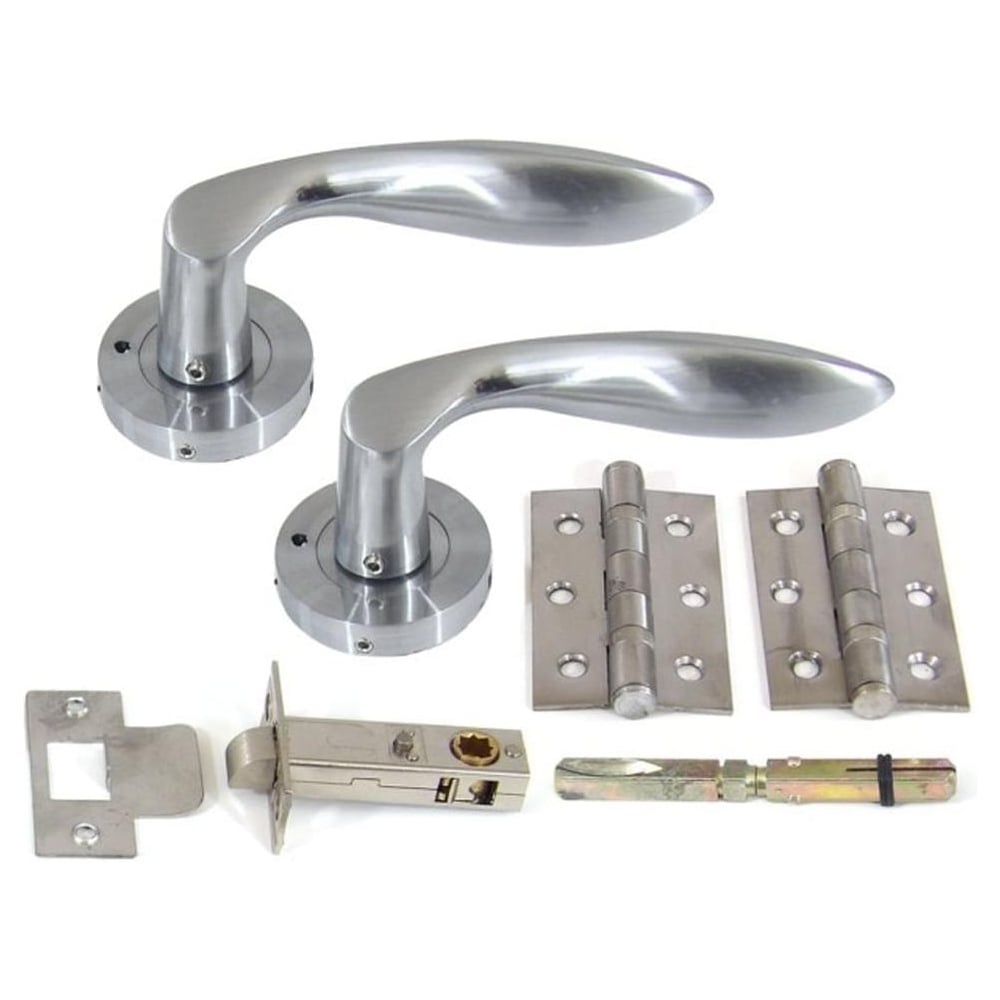
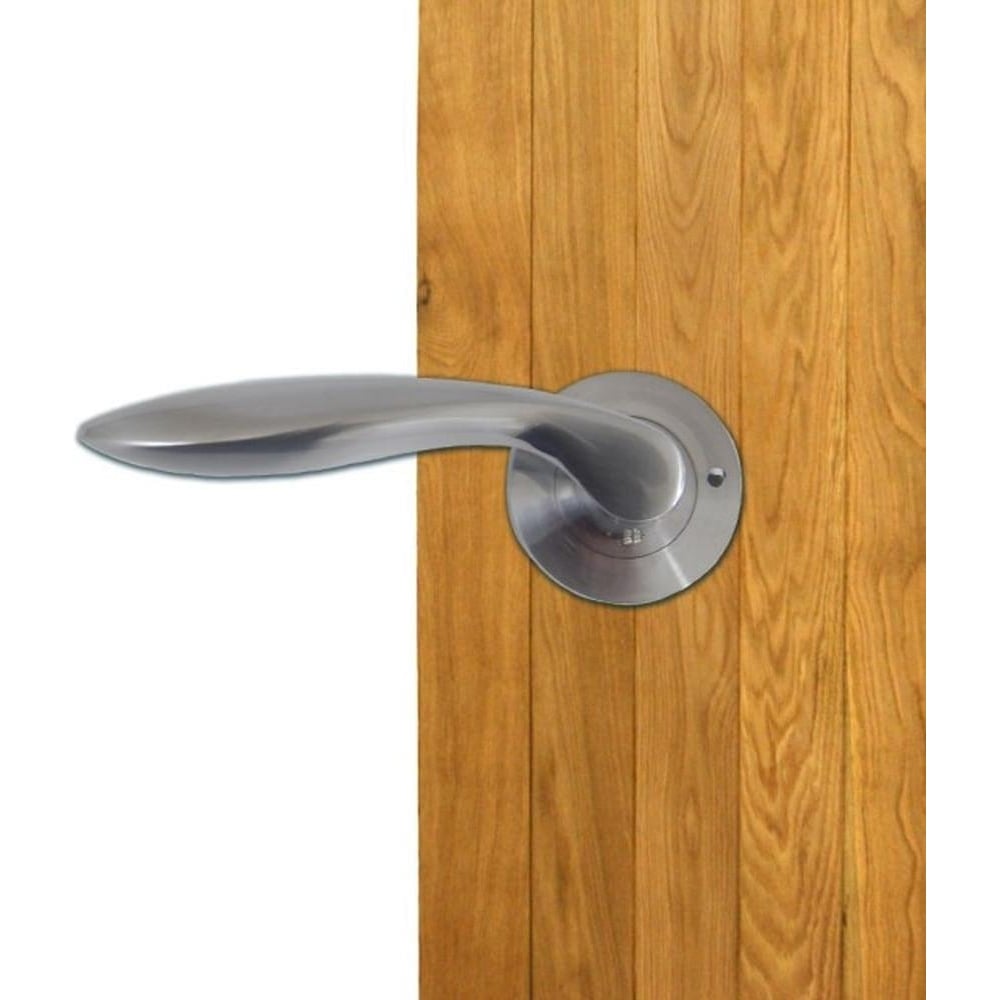
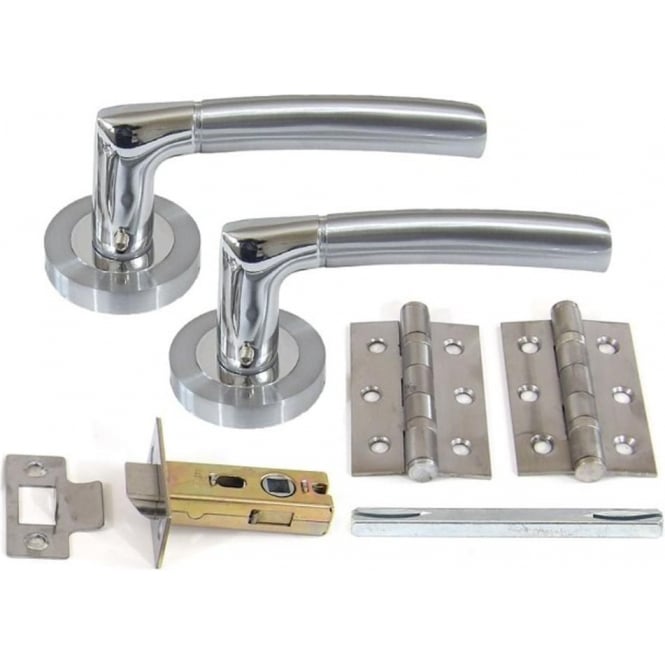
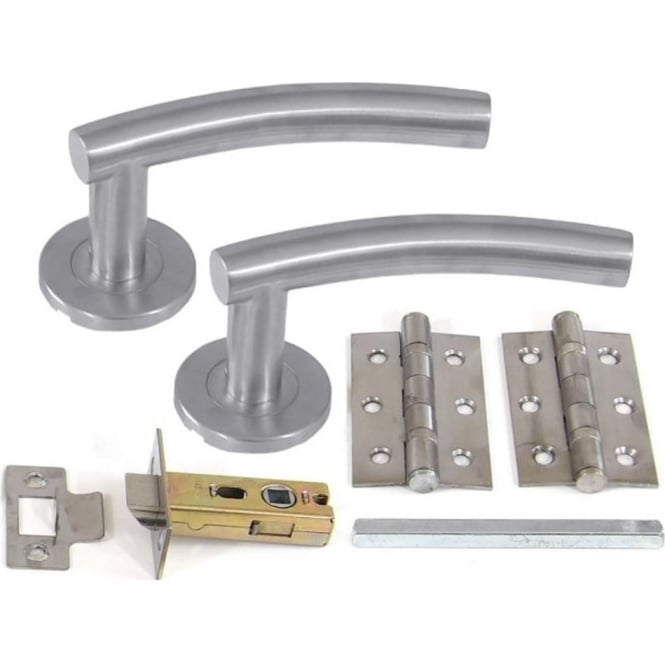
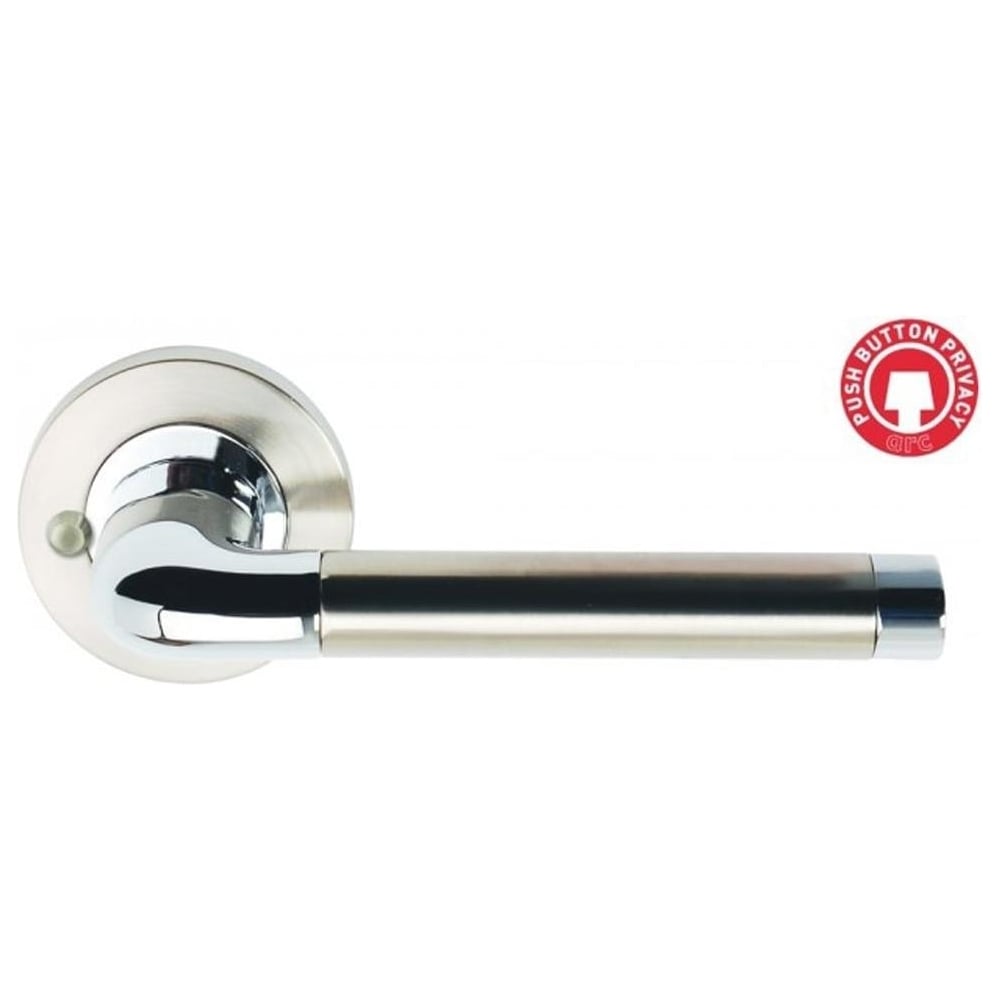
Using well-made interior door handles designed for hollow core doors can make installation easier and help ensure smooth operation and long-term durability. A range of suitable options is available within the Home Secure interior door handle range, which includes styles designed specifically for interior use

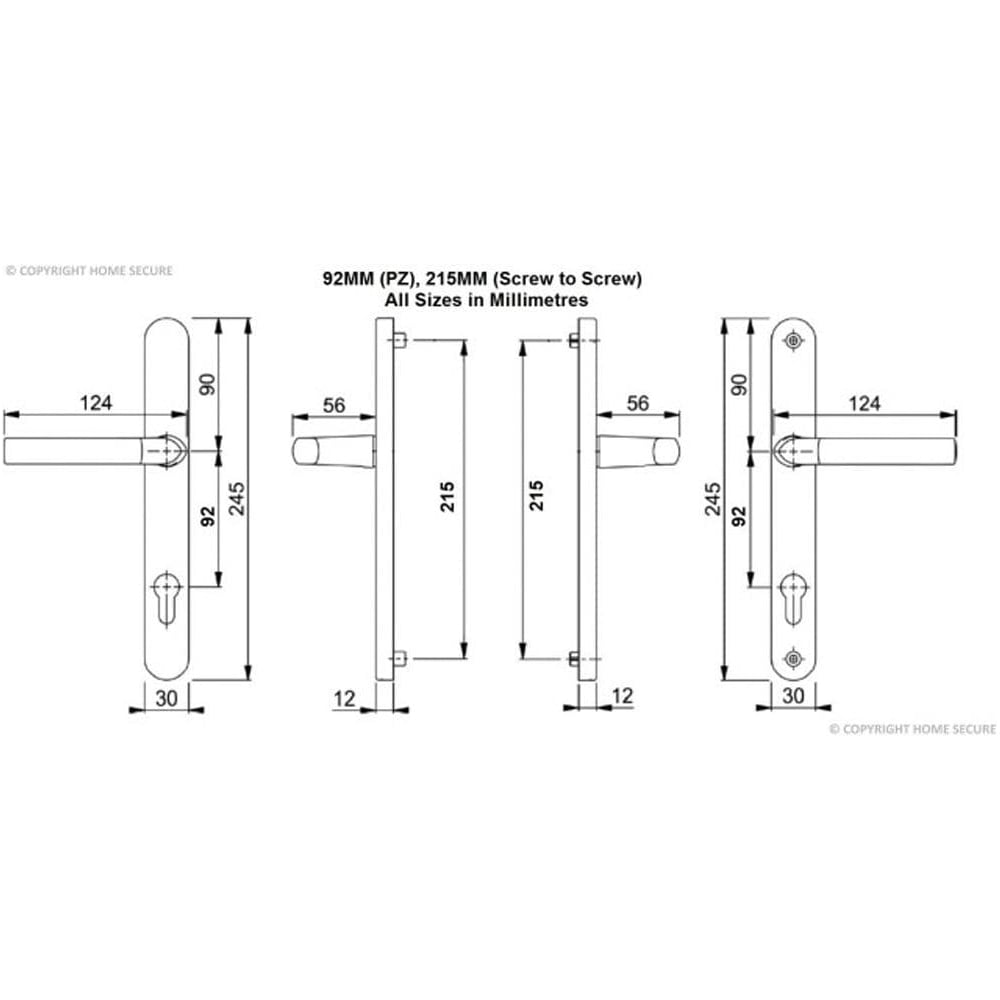
Step 1: Measure and Mark Door Handle Height
The standard height for interior door handles is 34–36 inches from the floor.
-
Measure from the floor and mark your desired height.
-
Transfer the mark to both sides of the door.
-
Use the manufacturer’s template to ensure accurate positioning.
Step 2: Drill the Door Handle Hole
To avoid splintering the hollow core door:
-
Drill halfway through from one side using a 2 1/8" hole saw.
-
Once the pilot bit breaks through, complete the hole from the opposite side.
This approach helps create a clean opening and prevents surface damage.
Step 3: Drill the Latch Hole
-
Use a 1" spade bit to drill into the edge of the door.
-
Aim toward the center of the handle hole.
-
Keep the drill level to ensure proper latch alignment.
Step 4: Install the Latch Assembly
-
Insert the latch into the edge hole.
-
Ensure the angled side faces the door frame.
-
Secure it using the screws provided with the handle set.
Step 5: Attach the Interior Door Handles
-
Insert the exterior handle through the main hole.
-
Align it with the latch mechanism.
-
Attach the interior handle on the opposite side.
-
Tighten screws evenly, taking care not to overtighten and damage the hollow core door.
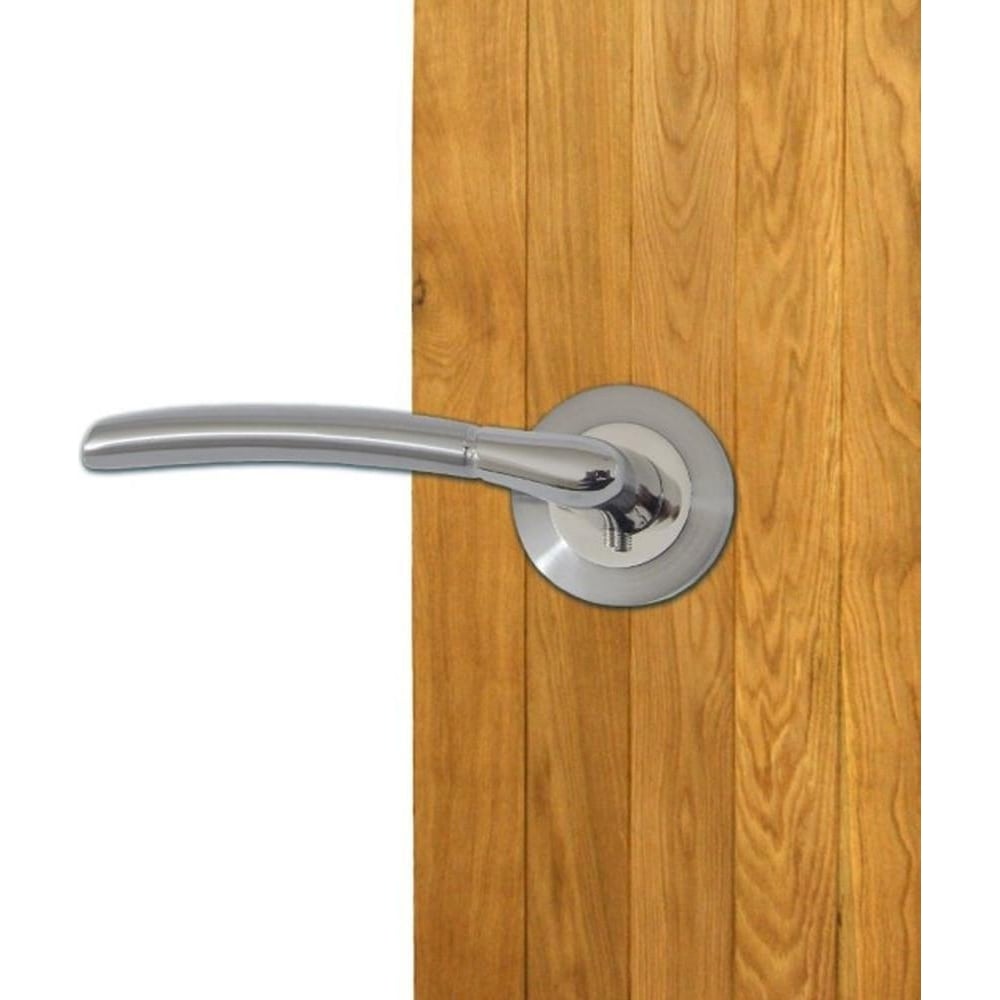
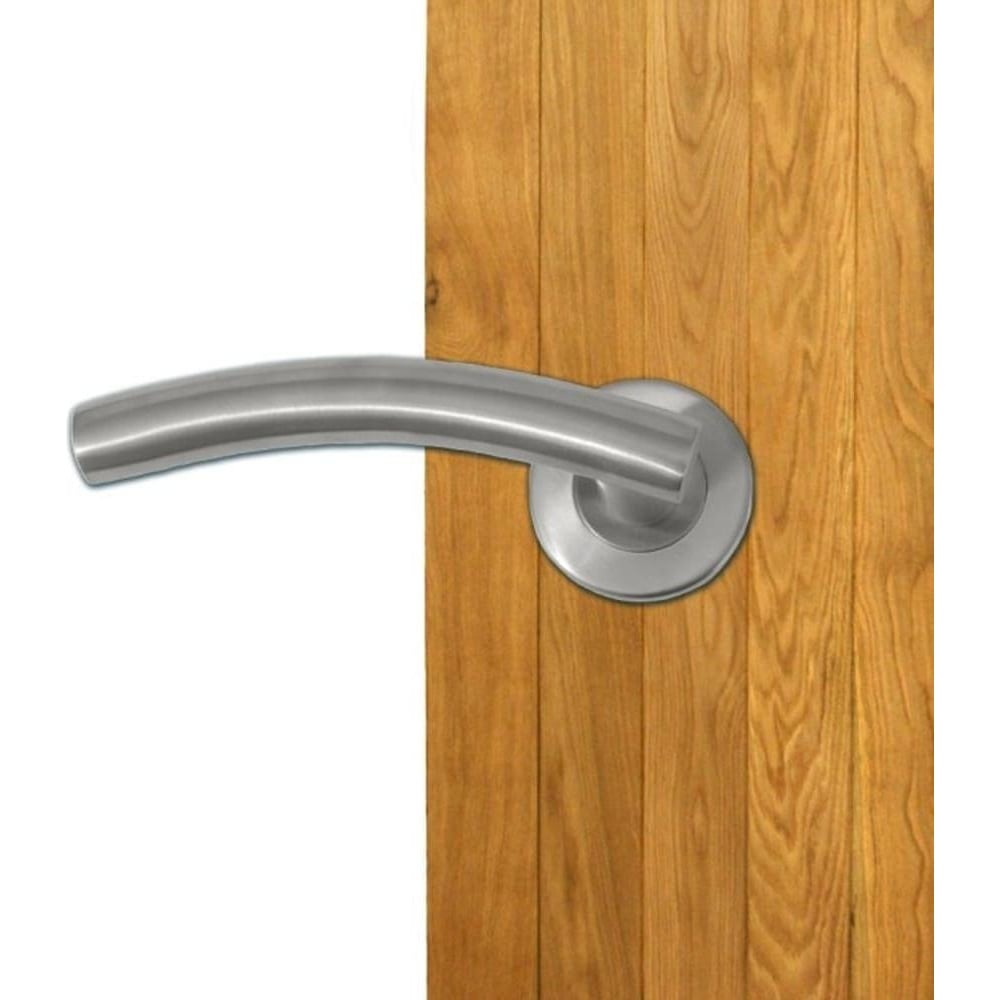
Upgrading handles across multiple rooms is a simple way to modernize interiors, and modern interior door handle designs from Home Secure can help create a consistent, updated look throughout the home.
Step 6: Install the Strike Plate
If a strike plate is not already installed on the door frame:
-
Close the door and mark where the latch meets the frame.
-
Chisel a shallow recess if needed.
-
Secure the strike plate with screws.
-
Test the door to ensure smooth closing.
Step 7: Test and Adjust
Open and close the door several times to check that:
-
The handle turns smoothly
-
The latch engages properly
-
All hardware feels secure
Make minor adjustments if required.
Common Mistakes to Avoid When Installing Interior Door Handles
-
Drilling straight through from one side of the door
-
Overtightening screws on hollow core doors
-
Installing the latch in the wrong direction
-
Using low-quality or unsuitable handle hardware

Interior Door Handle Installation: Key Takeaways
Installing interior door handles on hollow core doors is a manageable DIY project that delivers immediate functional and visual improvements. By understanding hollow core door construction, following the correct installation steps, and selecting quality hardware, homeowners can achieve a professional-looking finish that lasts.
The Home Secure interior door handles collection offers a wide selection of reliable and stylish options suitable for hollow core doors and other interior applications.
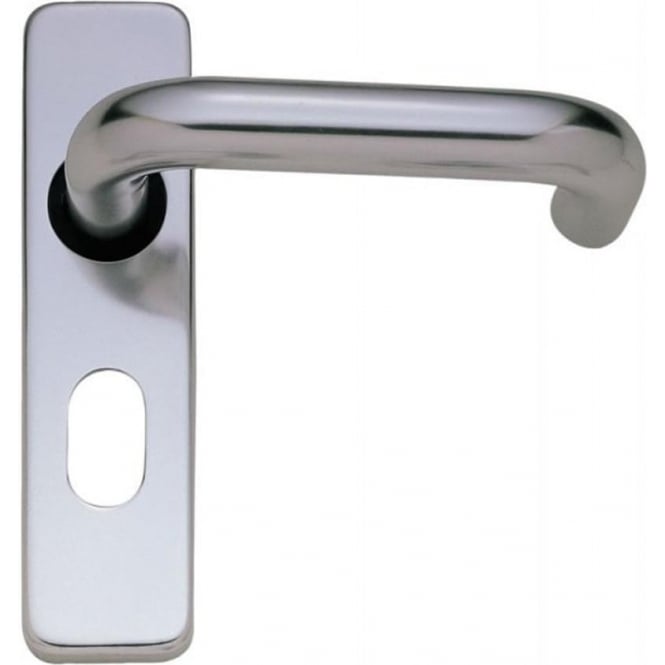
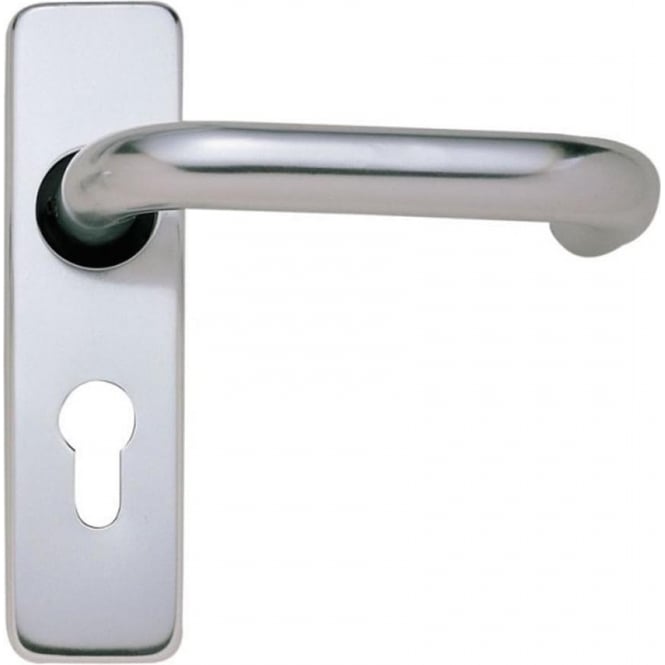
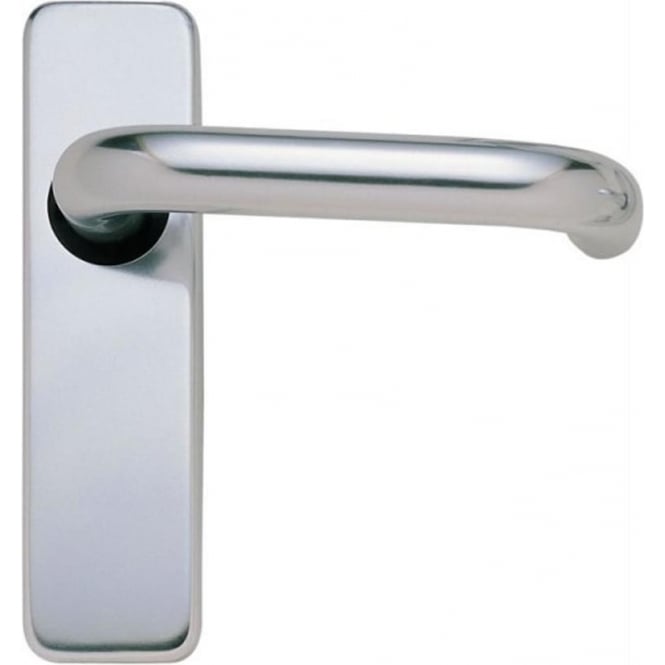
Check out the featured products from this article below 👇