Cold air sneaking in under your doors can make your home feel chilly, no matter how high you turn up the heat. Luckily, there’s an easy solution — and it doesn’t require tools, glue, or professional help. With a door draught excluder, you can stop heat loss, block unwanted drafts, and improve your home’s energy efficiency in just five minutes.
❄️ Why You Need a Door Draught Excluder
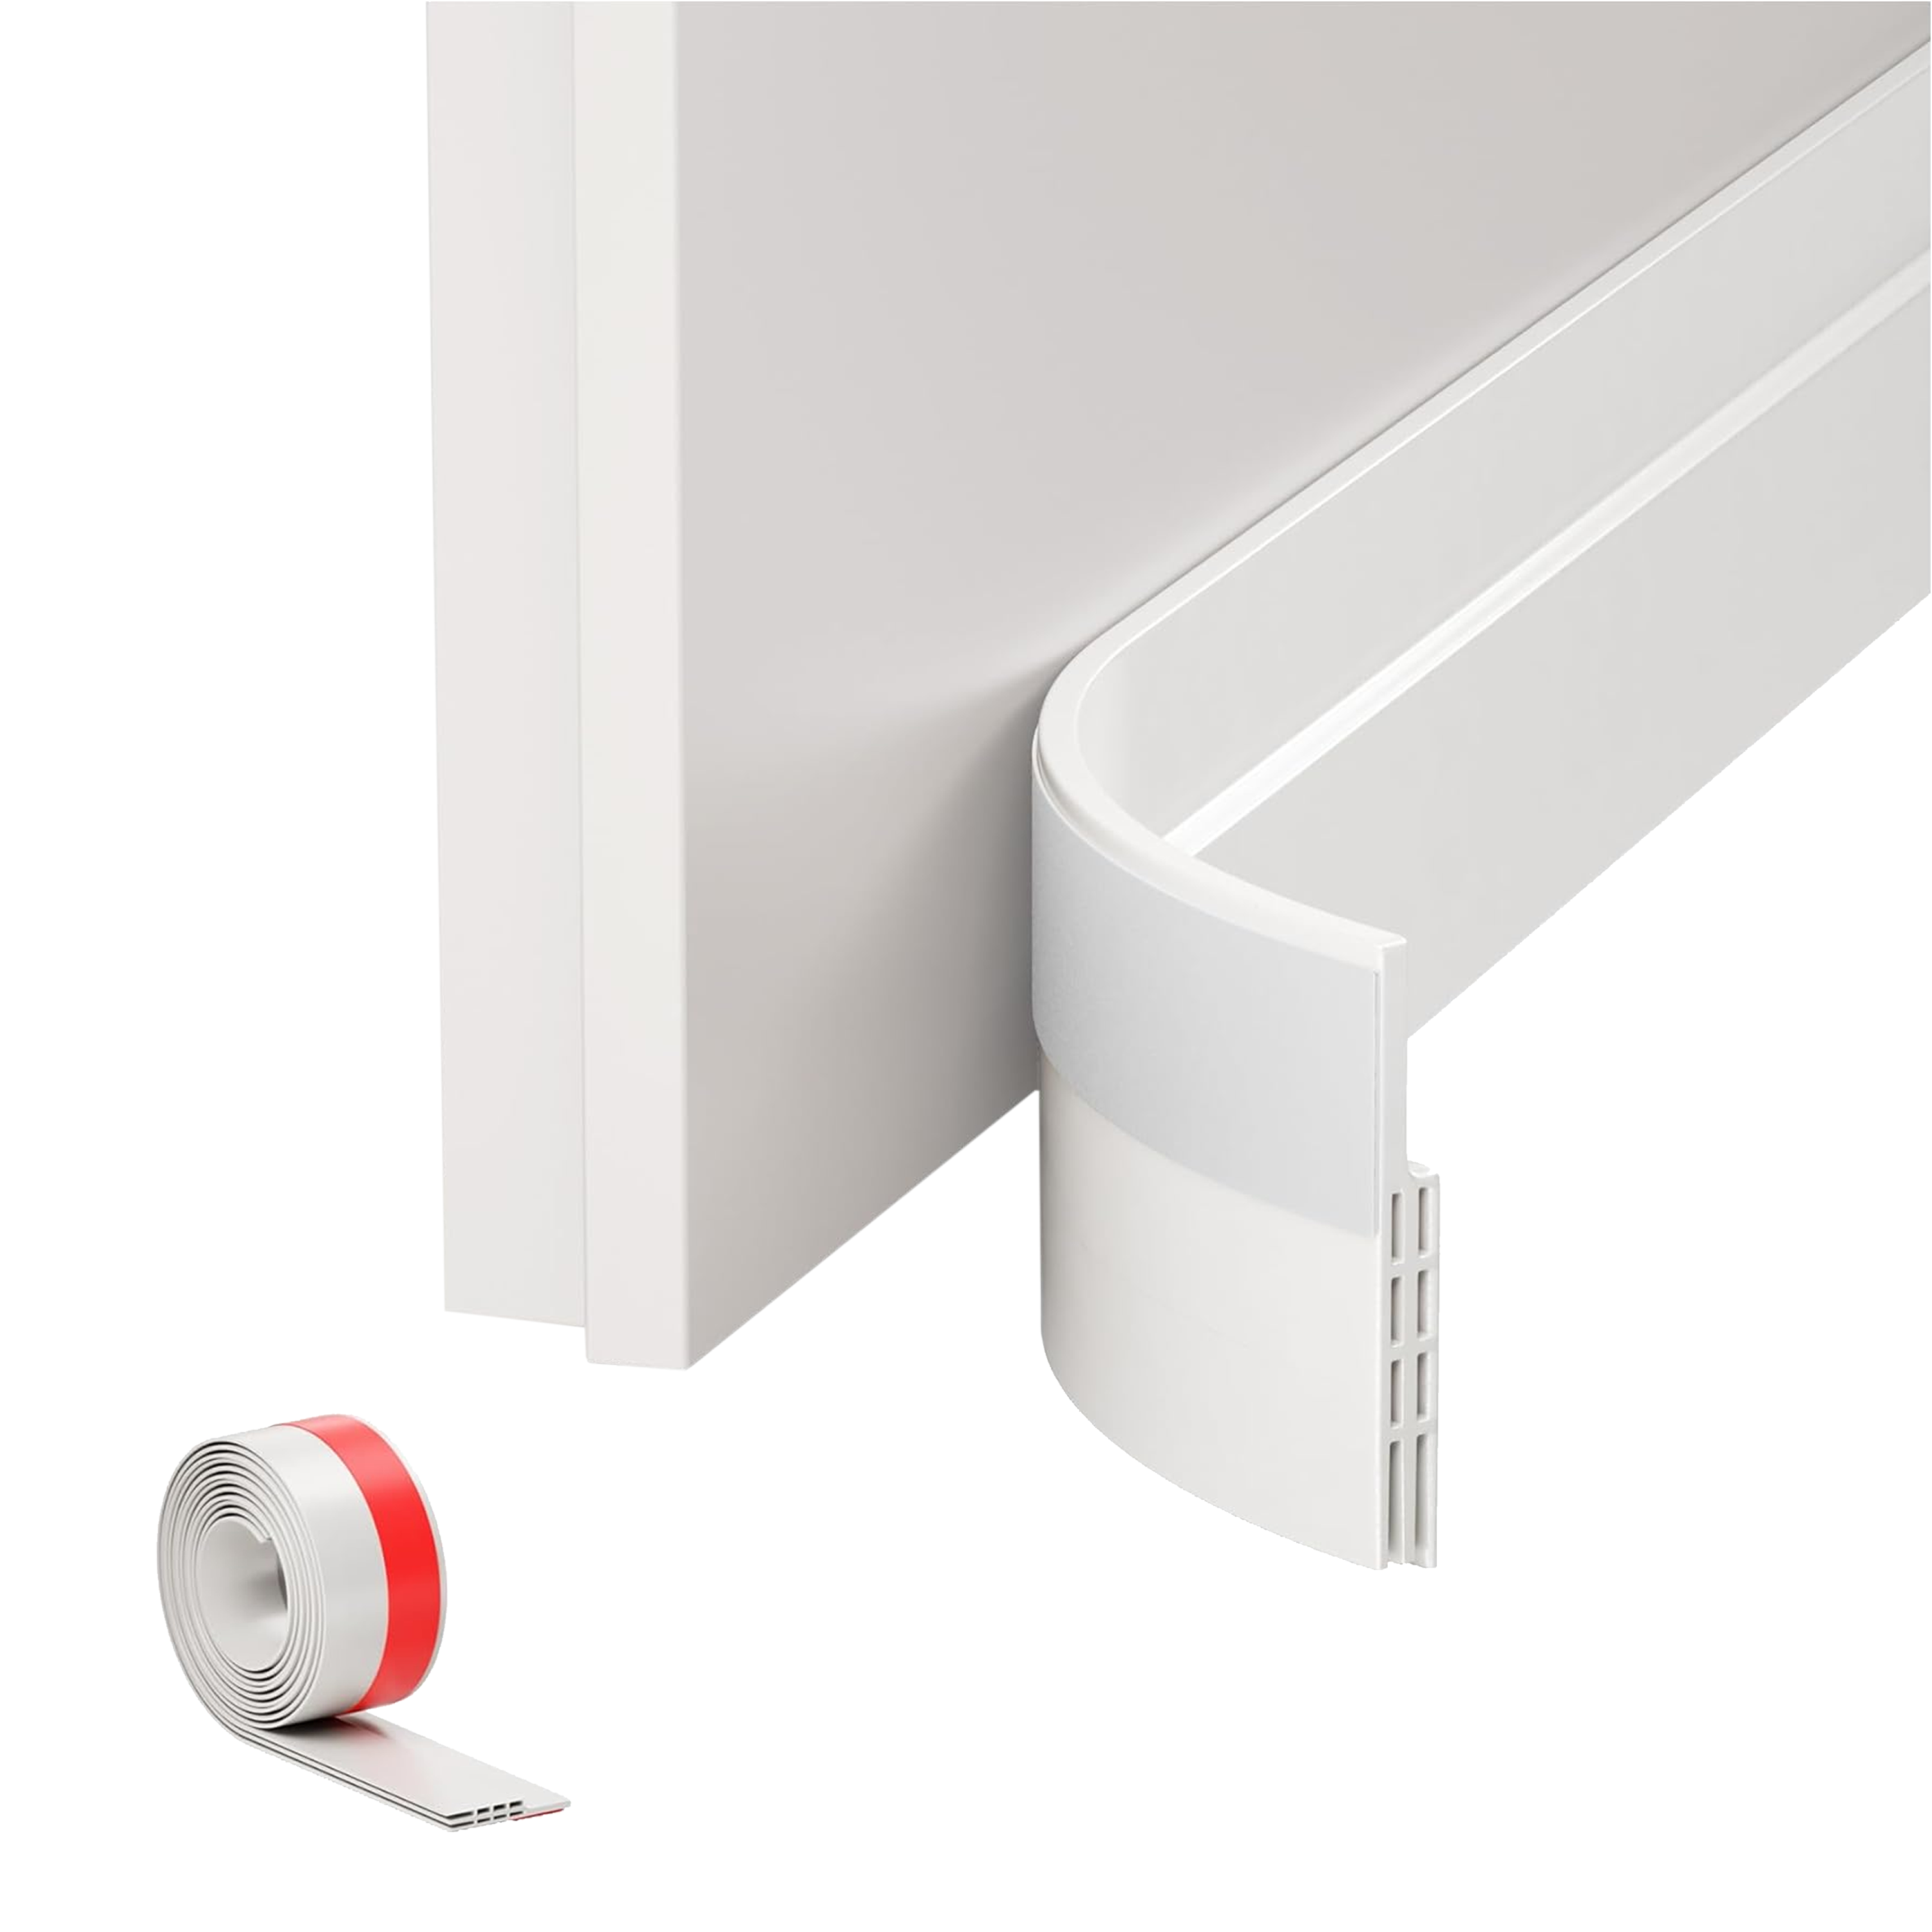
A door draught excluder (also called a door seal or door draft stopper) is a simple strip that seals the gap between the bottom of your door and the floor. That small space is often the biggest culprit behind cold air leaks — especially in older homes or during winter.
By installing one, you can:
-
🏠 Keep warm air in and cold air out.
-
💰 Save on energy bills by reducing heat loss.
-
🔇 Reduce noise and dust entering from hallways or outdoors.
-
🦟 Keep insects out — great for summer, too!

👉 Explore the HomeSecure Door Draught Excluder Strip — an easy-fit, no-tool solution for instant comfort.
⚙️ What You’ll Need
Here’s the best part: you don’t need tools, drills, or screws. Most modern door draught excluders come pre-fitted with adhesive backing or slide-on designs that attach in minutes.
You’ll only need:
-
✂️ A pair of scissors (to trim to size, if needed).
-
🧽 A clean cloth to wipe the door surface before applying.
That’s it!

If you prefer a quick, adhesive-based option, try the
➡️ HomeSecure Tool-Free Door Draught Excluder Strip — fits perfectly on uPVC, wood, and metal doors.
🕒 Step-by-Step: Install a Door Draught Excluder in 5 Minutes
1. Clean the surface
Wipe the bottom of the door to remove any dust or debris, then let it dry completely.
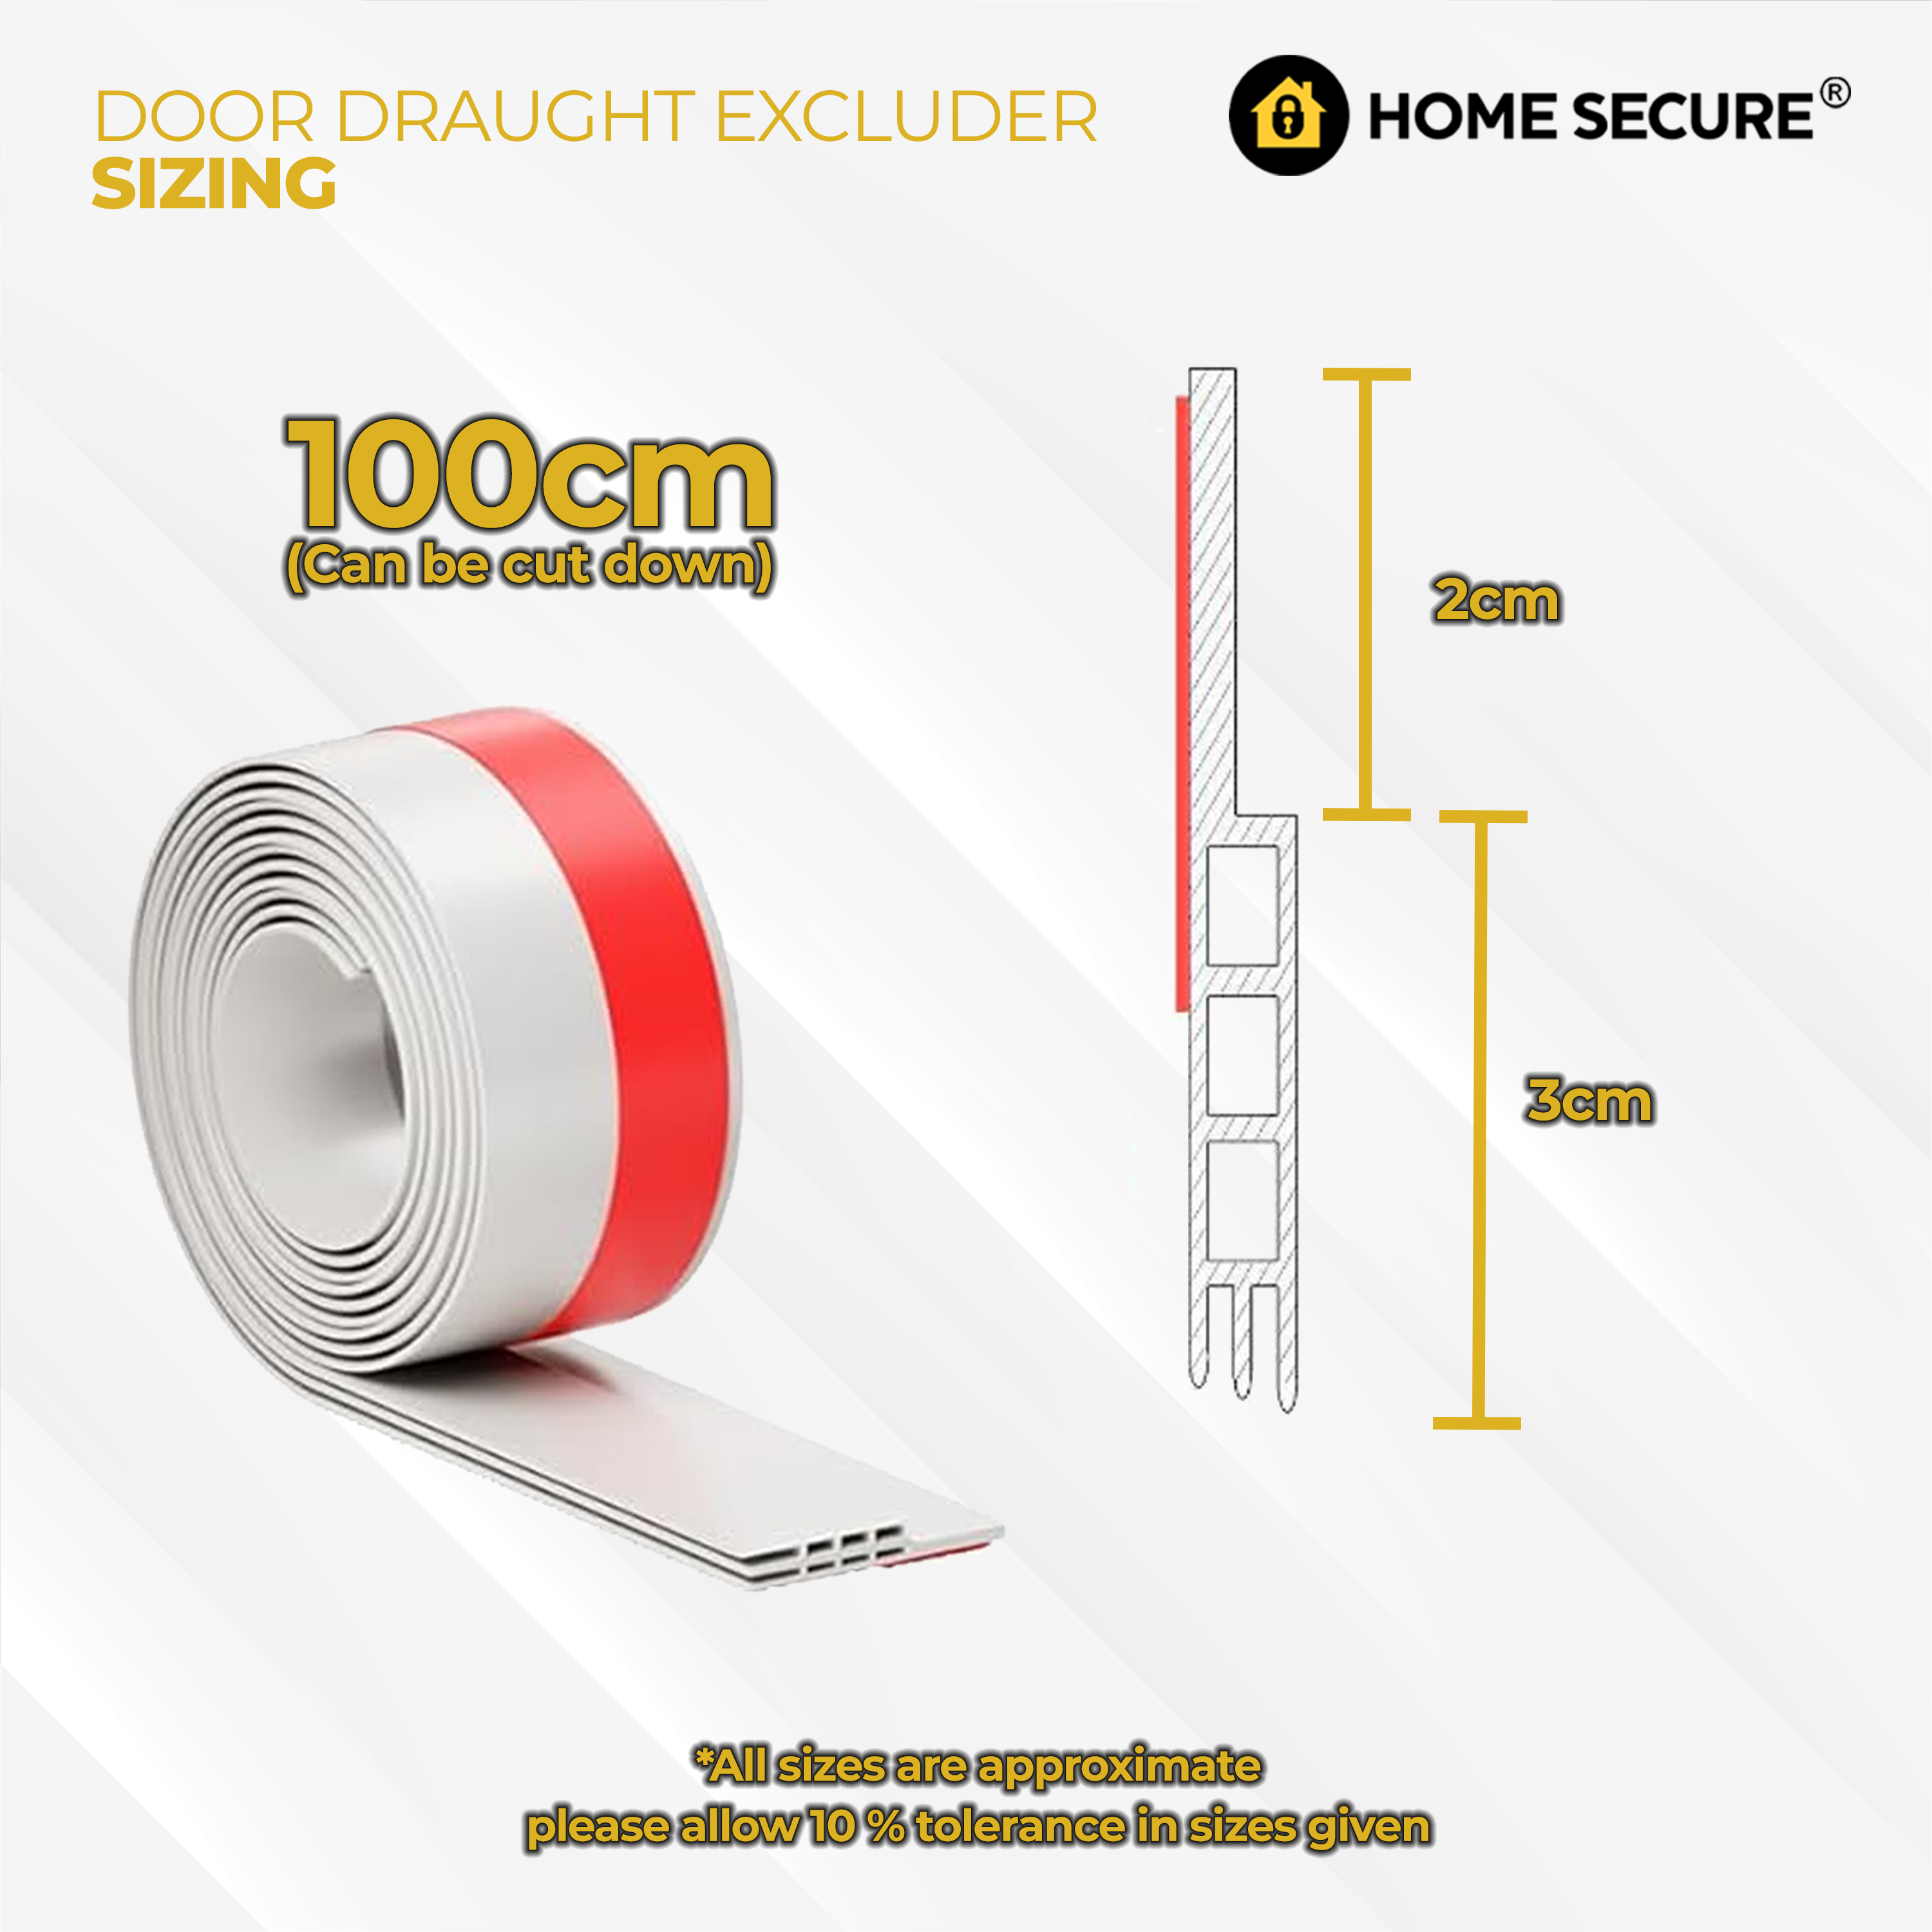
2. Measure the door width
Use a tape measure to check the full width of your door for a precise fit.
3. Cut to size
Trim the draught excluder strip to match your door’s width using scissors.
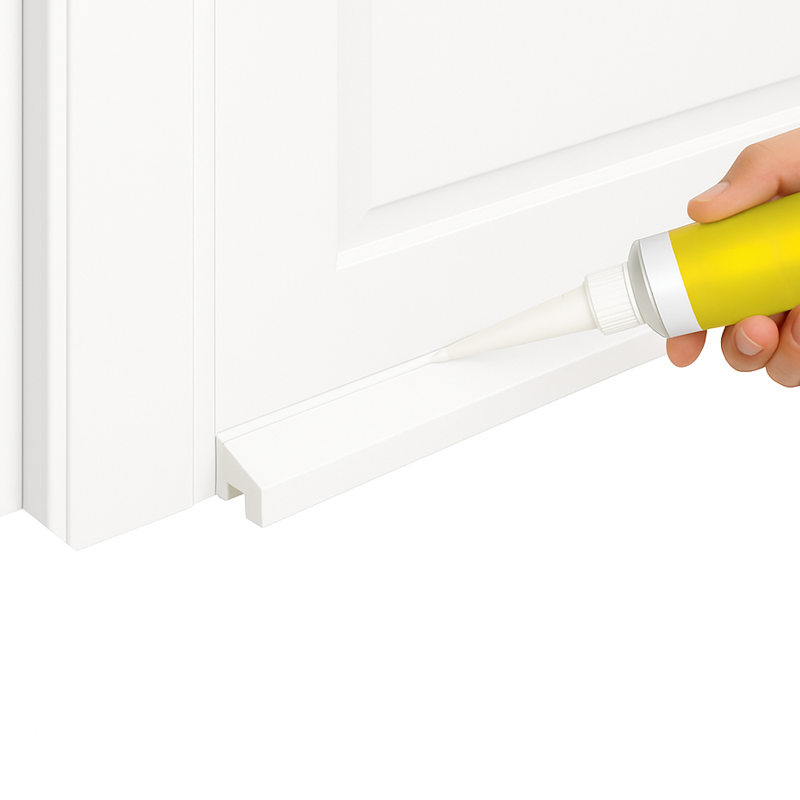
4. Peel & stick
Remove the adhesive backing and firmly apply the strip to the bottom of the door.

💡 For the quickest installation and long-lasting seal, use the
👉 HomeSecure Weatherproof Door Draught Excluder Strip — no tools, no screws, just stick and seal.
💡 Pro Tip: Choose the Right Type for Your Door
| Type | Best For | Key Benefits |
|---|---|---|
| Adhesive Strip | Interior doors | Easy to install, tool-free |
| Slide-On Rubber Seal | Wooden or uPVC doors | Durable and reusable |
| Brush Strip Seal | Exterior doors | Blocks drafts, dust, and insects |
| Under-Door Twin Draft Stopper | Hard floors | Moves with the door, reusable |
If you’re unsure, go for a universal adhesive door seal — it’s affordable, versatile, and works on most door types.
🧪 Evidence You Can Trust
Helping your home stay warm isn’t just comfortable — it’s backed by solid research. According to the Centre for Sustainable Energy, home draught-proofing is “one of the cheapest and most effective ways to save energy and money in your home.” Their guide explains how sealing gaps around doors and windows, using strips and seals correctly, can improve both comfort and efficiency. (cse.org.uk)
🏁 Final Thoughts
If cold air is creeping in, don’t wait for another high energy bill to take action. With a simple door draught excluder, you can keep your home warmer, quieter, and more efficient — all in under five minutes.
✅ No tools. No mess. Just comfort.
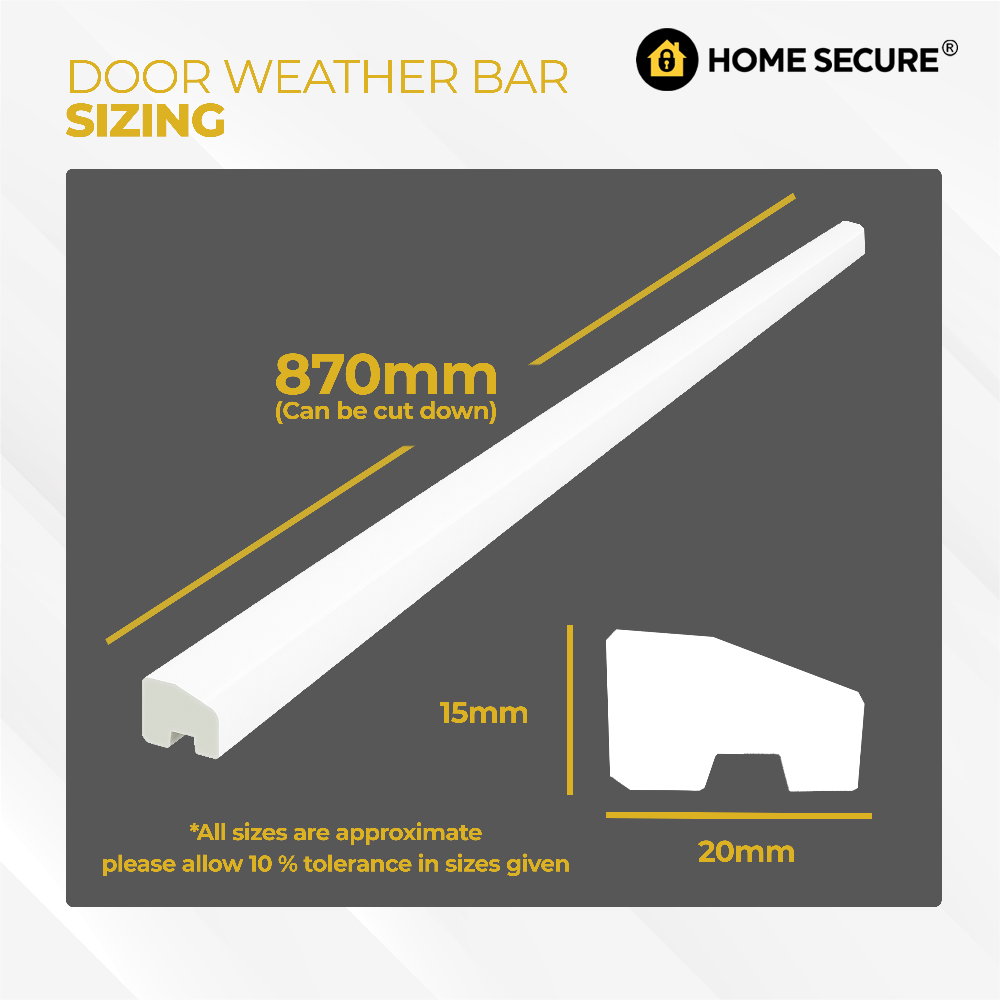
Check out the featured products form this article below 👇 including uPVC Door Weather Bar – Peel & Stick Rain Deflector